How to Drill Into Concrete Without a Hammer Drill
Concrete was originally invented with the idea of making a material to last for centuries. Unfortunately, this also meant the material had to be dense enough to withstand erosion and natural disasters.
Today’s concrete isn’t as dense as it used to be, but it can still prove a nightmare to drill into. But without a hammer drill, is it even doable?
So Why Drill Into Concrete, Anyway?
There are several reasons you may wish to drill into a concrete surface. At home, you may find yourself needing to make holes in concrete, brick, or cinder block walls to attach various mounts such as hooks or masonry screws.
It can also extend to drilling footers for patios and other outdoor structures. In some extreme cases, you can even use holes to crack concrete open for easier removal.
See Also: How to Properly Sand Concrete
Why a Hammer Drill is Preferred
Hammer drills (and their close sibling, the rotary hammer) are amazing innovations that combine two different tools into one: a hammer/chisel and drill.
As you work, it not only turns the bit, it also thrusts the bit forward in a hammering motion. This dual function allows the hammer drill to work on surfaces which are normally too hard for a regular drill.
While many hammer drills are designed to also function without the hammering feature so they can double as a standard drill, regular drills lack the ability to add the hammer motion.
In terms of how this applies to drilling a hole into a concrete wall, think about how much extra work it takes to apply direct, even pressure on a regular drill to dig into that concrete, while hammer drills do the same task mechanically.
Indeed, hammer drills can do the same job in a fraction of the time and with a fraction of the effort. However, this doesn’t mean you can’t use a regular drill to get the job done in a pinch.
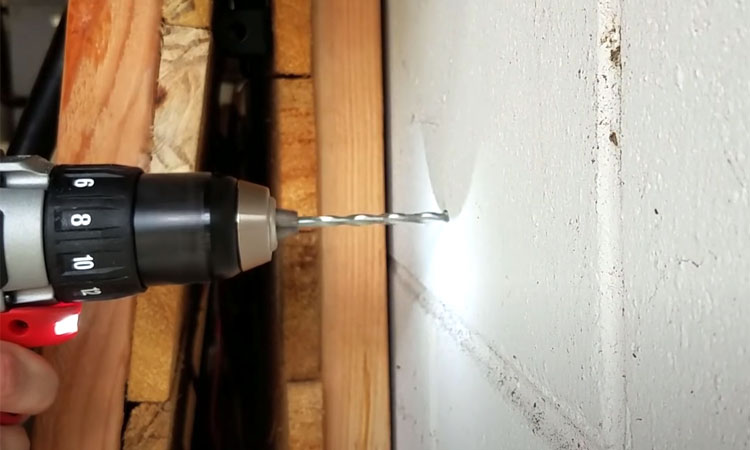
Will a Regular Cordless Drill Work?
Usually, when people ask this, it’s because battery-operated tools have traditionally been weaker and may burn through batteries quickly when faced with a tough job.
The good news is that modern cordless drills have become so efficient they can now compete on almost even ground with a corded model, sans the annoying cord.
Of course, there may still be times when a corded drill has a little more difficulty than a corded model, but this may ultimately come down to the age of your concrete (which is a factor we’ll be discussing later on).
What Type of Drill Bit Will I Need?
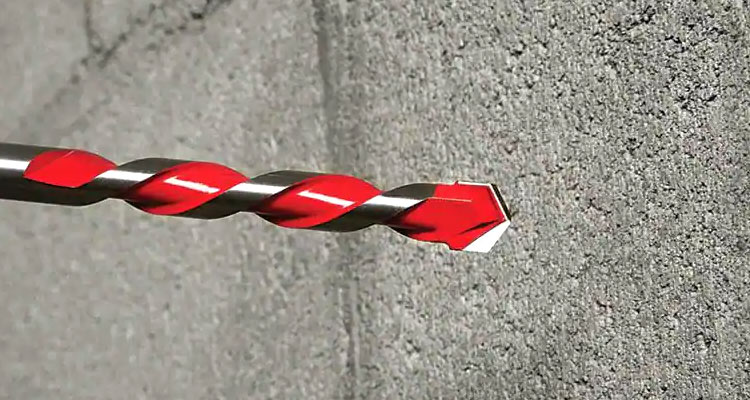
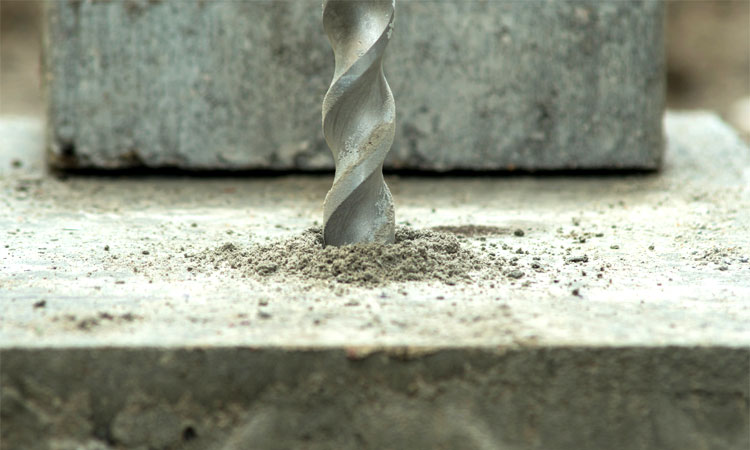
Masonry drill bits are, by far, the best type of drill bit for drilling into concrete. However, you can also use diamond or carbide bits in a pinch. Just remember that you’ll be dulling your bits pretty quick if they’re not meant for the job at hand.
Masonry bits are usually tipped in tungsten carbide, one of the hardest materials out there. This material is able to handle the higher friction heat with minimal risk of breaking or dulling.
The shafts are made of steel rather than titanium, which may overheat 1/3 as fast as steel, but is also more prone to breaking under the intense pressures needed for drilling into concrete.
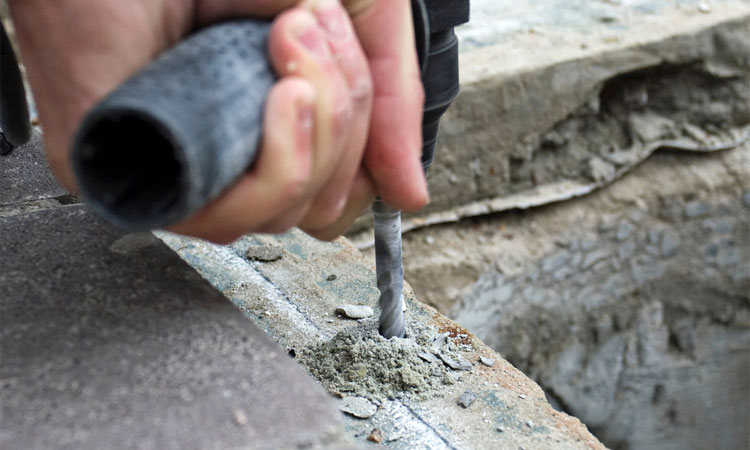
How to Drill Into Concrete With a Regular Drill
And now we get to the meat and potatoes: actually drilling a hole into the concrete surface using a regular drill. The process is two-fold: Preparation and Execution.
Preparing for Battle
There are several things you will need to gather or consider before you can get started. By knocking everything off on this little checklist, you can have a smoother, safer time drilling.
Determine the Age of Your Concrete Surface
While this doesn’t sound very important, there’s a major difference in density between today’s concrete and those of the 1950s and earlier. Thus, by getting a rough idea on the concrete’s age, you can get a baseline of how difficult it’ll be to drill into. This addresses two important concerns:
- Older concrete may be too dense for a drill or have large pieces of aggregate present.
- Depending on the age and exposure to the elements, the concrete may prove brittle when drilling into the surface.
Have a Good Water Supply
Drilling into concrete is no joke, and even a masonry bit will begin to superheat if you’re using a regular drill. You’ll want to have a hose or similar source of water on-hand to keep the bit cool while working.
Of course, this poses a few problems, such as the joys of combining water and electric tools, if your drill isn’t capable of fending off some moisture. It also means things will get messy, so be sure to have plenty of towels or even blankets on-hand to catch the water.
If possible, have someone assist you. This way, they can control the water supply while you focus on keeping that drill steady.
Are You Drilling or Cracking?
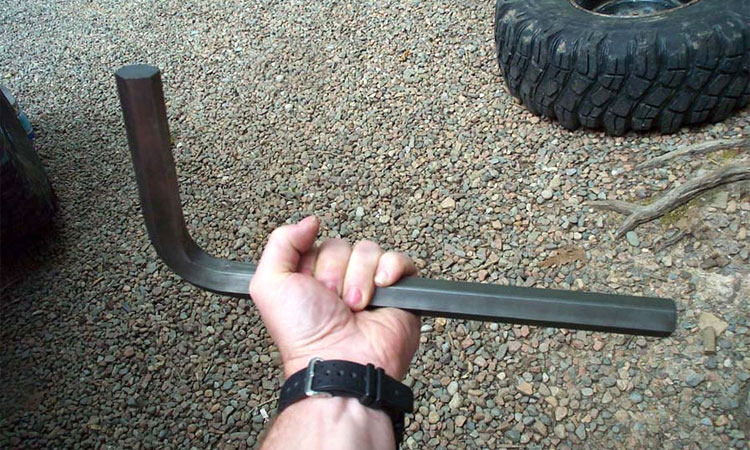
Drilling a hole into concrete can make it easier to crack into pieces. You’ll still want to follow all procedures for drilling a regular hole, but will need a hammer and sturdy metal wedge to drive into the hole.
Be Prepared for Aggregate
As mentioned, older concrete was more dense than more recent versions. This meant that they often included small stones or other sizeable aggregate.
You will want to thus have a good hammer and masonry nail on-hand to break through any hard obstructions the drill might encounter.
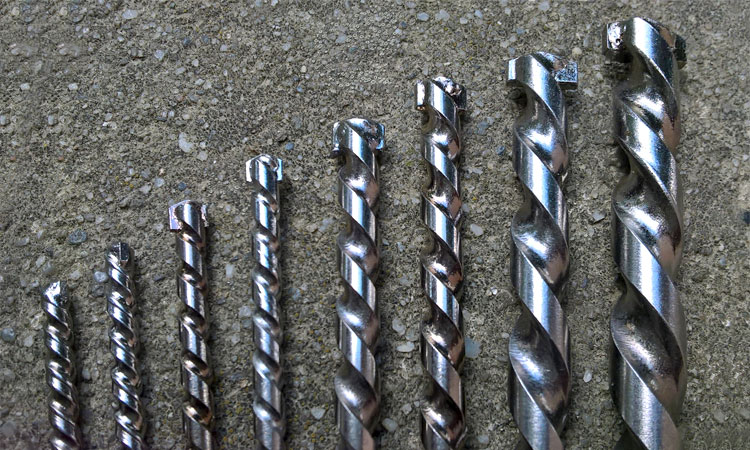
Don’t Rely on One Bit
Finally, you’ll want to gather multiple bits for the job. It’s a lot easier to enlarge an existing hole than to make a large hole in one pass.
You may also wish to have a few spares when drilling multiple holes so you can swap out bits that are starting to overheat, giving them more time to cool off before they’re needed on the next hole.
When you need to graduate to something as large as a core bit, be sure to use tungsten carbide with a carbide or diamond core.
Execution
Drilling into concrete is very different from how you might tackle wood or other softer materials. You’ll want to take full advantage of any speed settings your drill has, as well as the various supporting tools mentioned earlier.
Step 1 – Consider Creating a Guide
While concrete is by no means a smooth surface, it can still help to have a little divot for the drill to anchor itself.
A good way to do this is by simply taking a masonry nail (or center punch) and hammer, lining the nail up with the drill markings, and giving it a couple good whacks to dent the surface. Be careful not to hit too hard or at an angle, as the goal is to make a little dent, not chip your concrete wall.
Step 2 – Use a Smaller Bit
There’s no point in grabbing the biggest bit first, as you’re more likely to break yourself before the concrete. Instead, try starting off with a bit 1/3 the size of the final hole. For especially large holes, you may need to go even smaller.
And for holes measuring a couple inches across (such as footing holes), you will want to drill multiple holes in a circle around the diameter of the planned hole, then chip out the middle.
Step 3 – Start Off Slowly
This is perhaps the single most important step. It’s easy to give in to the urge and start off with your highest setting. However, this is dangerous, as it could cause the drill to slip, and will also likely ruin your bits.
Instead, start the drill off on its lowest setting. For drills that lack speed settings, pull very lightly on the trigger. You’ll also want to use very light pressure to start.
Why is this? Well, as mentioned, concrete is extremely durable, yet it can also be quite brittle under the right circumstances. Starting off slowly reduces the risk of chipping the outer surface. It also minimizes the risk of a standard drill’s motor overheating. As the small bit works its way deeper, it makes it easier for the next bit.
When cooling with water, be sure to direct the flow at the point where the drill meets the concrete, using a slow, gentle stream to avoid splashing the drill. Also, make sure you apply less pressure on “soft” masonry such as bricks than you do solid concrete, drilling only as deep as needed.
Step 4 – Take Breaks and Keep it Cool
As you graduate to each bit size larger, you’ll be able to increase speed and pressure. However, this doesn’t stop the drill or bit from overheating if you go too fast. Pausing occasionally will give both your arms and the drill a much-needed rest.
It also allows you to excavate any debris from the hole (a air compressor with blow gun or a can of compressed air can help with this), wipe away dust from horizontal surfaces, and wipe water from the surface.
Remember, even if you plan to drive a wedge in your holes to split the concrete, the health of the drill and your body requires you to take the task in stride.
Some Safety Tips
Working with concrete is no joke, and a lot can go wrong when you don’t have the right tools. Here are a few final points not previously mentioned that help to make the task as safe as possible:
- Always wear safety gear, especially goggles and a mask to protect your face from dust and flying debris.
- When possible, make full use of your drill’s auxiliary handle and get a second pair of hands to handle water cooling or other tasks (they’ll want to also wear some heavy gloves and stand back a bit).
- Remove the bit frequently to allow debris to clear from the flutes.