How to Organize and Wear Your Tool Belt Like a Pro
Have you ever wondered how Batman was always able to pull the right bat-tool out of his utility belt on the first try? The secret (besides convenient writing) was that he always had the belt organized to fit the mission profile. Be like the Bat with your new tool belt and show everyone you’re the fastest draw on the site.
While not everyone agrees on the “best” setup for a tool belt, there are a few generic rules that most professionals follow. Here’s how to organize and wear your tool belt like a pro.
How to Organize a Tool Belt
While everyone’s list of tool priorities can vary, there are some basic rules you can follow to come up with a setup that you can then tweak to perfection. This guide is geared more at carpenters, but can easily be tweaked to fit electricians based upon the general similarity of tool shapes and priorities. Just like organizing your tool chest, over time, you’ll decide on the best tool belt setup for your needs.
Pockets and Pouches
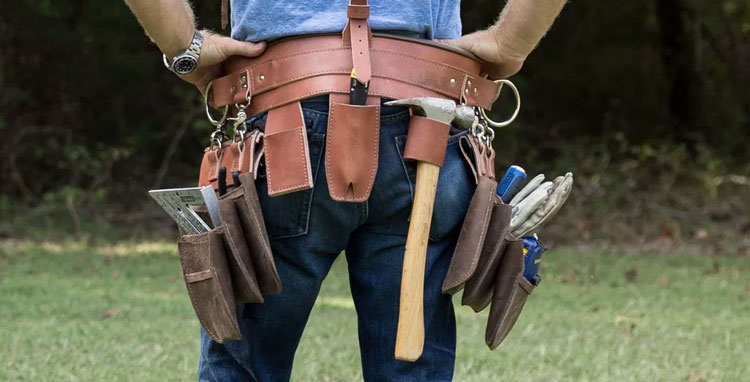
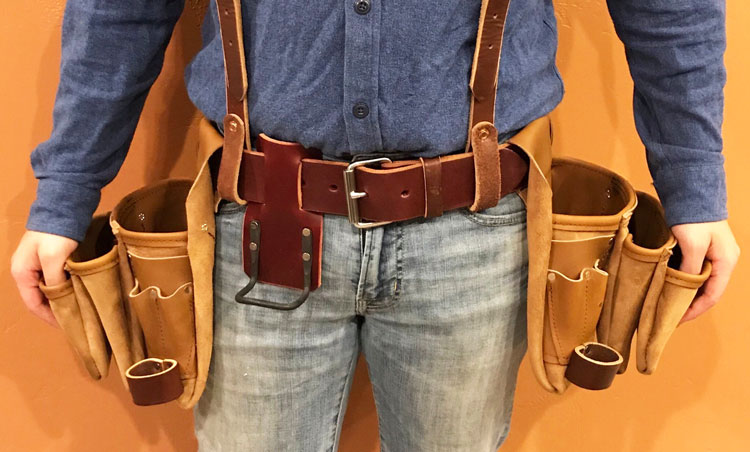
While these two terms may seem interchangeable, the distinction is an important one. A belt pouch is one full container that hangs off of the belt. The best tool belt configurations will have two large pouches, spaced so that they rest on the thigh to allow for free movement.
Each pouch should contain a number of pockets. The size and shape of each pocket will affect what can be stored in it, and many smaller pockets on a good pouch will have some form of closure to ensure nails and other small objects won’t spill out.
The Dominant Pouch
Regardless of whether you’re a righty or a lefty, the dominant pouch should be located by the dominant hand (Sorry, ambidextrous folks, you’ll have to figure this placement out for yourself). Keeping with the dominant theme, this is where the most important of your tools will be located. Most people put their hammer in the pouch’s side loop but others prefer it in the center back.
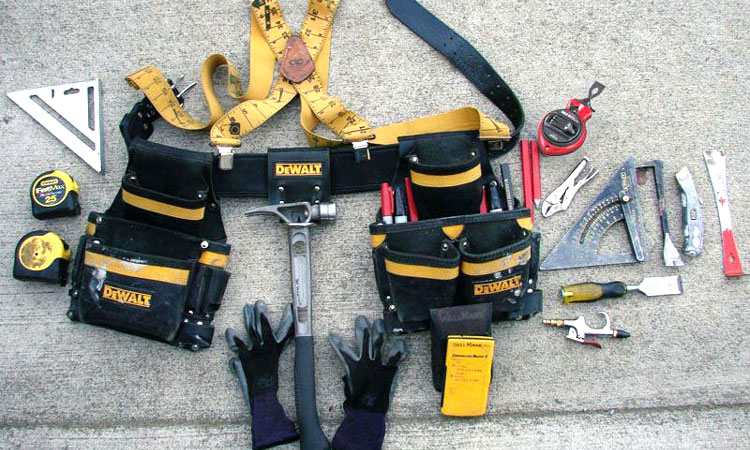
Marking tools such as a carpenter’s pencil or chalk line, pliers, and cutting tools such as a box cutter are all good items to fit in the pockets, as you will want quick access to them. Electricians will likely want their own versions of these tools in the same spots, along with a voltmeter or similar tools when the job requires them.
The Secondary Pouch
In some ways, the secondary pouch is even more important than the primary, as it contains all of your fasteners and small objects. For this reason, the secondary pouch will usually have a much larger number of pockets and include some pockets that can be closed.
Keep all of your nails, connectors, and other small items on this side, as well as a multi-bit screwdriver and cold chisel. Rulers and protractors round out the selection (although tape measures often have their own pocket located on the belt itself between the two pouches).
This pouch is often referred to as the “helping hand” pouch, as it allows you to feed nails for your hammer, grab a ruler for your marking tool, and basically provide any companion object using your off-hand to go with the tool in your dominant hand (again, we must leave ambidextrous folk to puzzle this out).
With a little practice, you’ll find using the secondary pouch becomes a very organic process, and you can easily change out the contents based upon the job profile without losing this flow.
See Also: 9 Best Knee Pads (for Construction, Flooring, Tiling and More)
How to Wear a Tool Belt
It might sound silly at first, but there’s actually a lot to be said about wearing a tool belt. This can be broken down into three categories: weight, orientation, and pouch count. How you address these three factors can make all the difference between a smooth operation and being completely hindered on the job.
Orientation
You don’t often see it in the media, but wearing your toolbelt backwards for certain jobs can be a real lifesaver according to many. This is especially true of tasks such as framing where you need to bend down a lot. Having the pouches behind you means they don’t dig in as you bend over and your rear carries the weight.
Just remember when wearing your belt backwards that you want to swap the pouches so your dominant hand can reach the dominant pouch.
Pouch Count
Ideally, a tool belt will have two large pouches. However, there are a few occasions when you may wish to add smaller pouches and carriers to house your cell phone or hang power tools from. These will generally radiate outwards towards your back and are good for hauling a larger number of tools to perform a roofing job or other task where fewer trips are preferred.
The more pouches you have, however, the more difficult it will be to work. Keep this in mind and try to set your belt up so that additional “hauler” pouches can be easily removed when you reach your destination.
Weight
It goes without saying that more tools means a heavier belt. Just because that thing isn’t holding your pants up doesn’t mean you want it pulling you down. Consider investing in a pair of suspenders to hang the belt from. This takes a good deal of weight off of your hips and lower back, distributing part of the load to your shoulders.
Suspenders can be attached to most tool belts, and adding a tool vest can further reduce the belt’s load on especially busy jobs.