How Many Coats of Primer Do You Need? (for Different Surfaces)
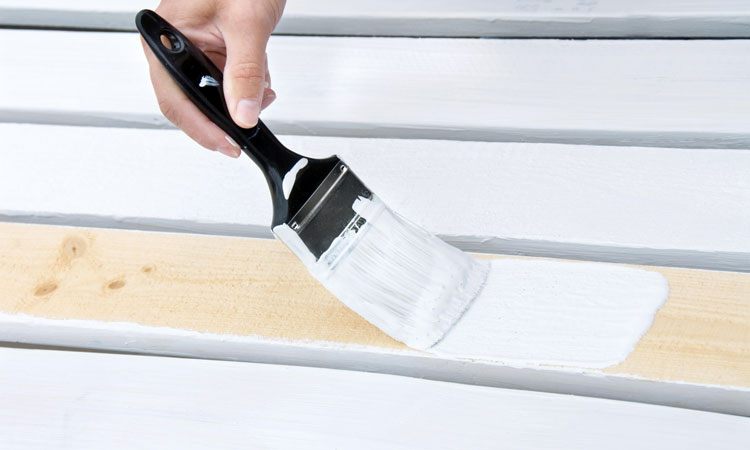
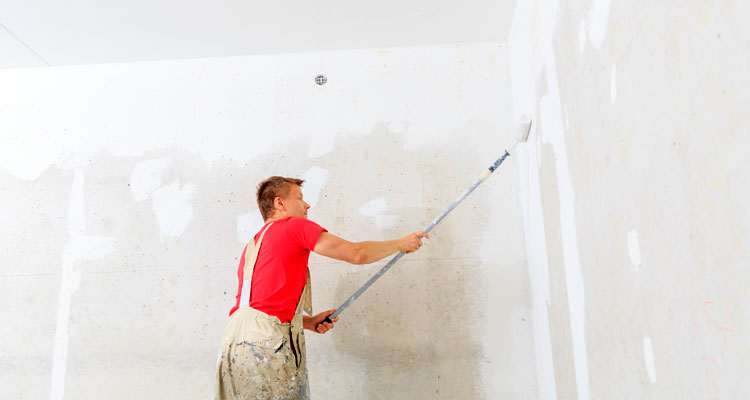
One of those important life lessons we always wish someone taught us before starting a DIY project is how to properly paint a room. You will either be painting over a new wall or a previous paint job, and both of these will require a good primer to get the most out of your paint.
But how many coats of primer do you really need? Here’s all you need to know about priming walls and other surfaces for a perfect finish.
Is Primer Really Necessary?
Every material has a certain degree of porousness (referred to as the porosity). This affects whether the paint will soak in, stick, or run off.
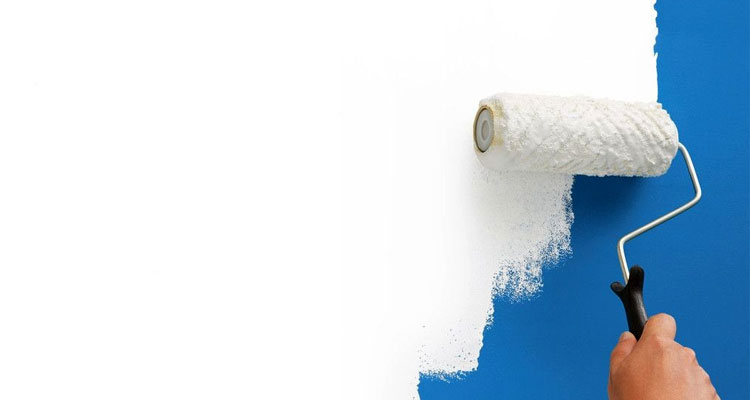
On just about every wall surface, at least one coat of primer will be needed. The type of primer you choose will also be important, as different types are better for certain situations.
See Also: Best Paint for Garage Walls
Types of Primer
There are many different kinds of primer on the market. Most are designed for a specific material, and perform less effectively on other materials. Here are the different classes of primer you’ll most often run into.
Bonding Primer
This particular primer is used on slippery surfaces, such as tile. The purpose of a bonding primer is essentially the opposite of other primers, as it creates a gripping surface for the paint to adhere to instead of sealing the surface to prevent absorption.
Drywall Primer
One of the biggest mistakes you can make is painting new drywall without a coat of primer. The porous nature of that covering paper can soak up paint unevenly, resulting in a poor finish. Don’t expect a perfect finish, as the primer is there to help your paint stay on drywall, not to look good.
One of the biggest mistakes people make is not using primer when painting an unfinished garage. They may have one of the best paint ideas for their garage walls but forgetting to use primer guarantees a poor end result.
Masonry Primer
Different types of masonry can present more than just a porosity issue. Some types of masonry have a high pH, causing paint to stick poorly.
Others attract efflorescence, white crystalline deposits that can make the walls increasingly unattractive. A good masonry primer can address all of these issues for a better, longer-lasting paint job.
Multi-Purpose Primer
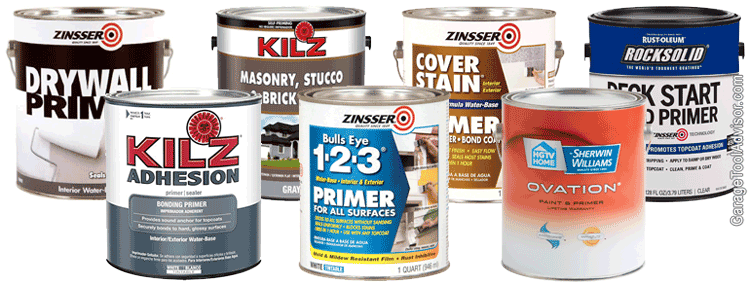
A newer alternative to traditional primers, multi-purpose primers can be used on a number of different materials, although none work universally. Always check the label to ensure the primer will work on your walls, as these won’t work on all surfaces.
You should also make sure to buy multi-purpose primer from a respected name, such as Killz, Behr, or Zinsser to avoid getting an inferior primer.
Stain-Blocking Primer
Despite the name, a good stain-blocking primer is one of the most useful options out there for covering existing paint or damage. This is because it prevents bleed-through between the old wall covering and the new paint.
Use this primer to cover up old smoke or water stains, crayon, grease, or dark paint. Check the label before purchasing, as these primers are often aimed towards specific uses.
Wood Primer
The high porosity of bare wood can make it a nightmare to paint without a good primer. Traditionally, wood primers were oil-based and took 24 hours to set. While highly effective, the fumes and long waiting time are less than ideal.
Thankfully, newer oil mixes and latex alternatives dry much faster while still being just as effective and waterproof.
See Also: Polycrylic vs Polyurethane vs Lacquer Wood Finishes
Self-Priming Paint
Self-priming paint can be a great alternative for materials with a medium porosity. This new blend of paint and primer can be a gamble, however, as it doesn’t always work as advertised.
When using a self-priming paint, be sure to choose a quality brand. The extra expense will pay off visually in the end.
See Also: How to Dispose of Old Gas, Paint, or Motor Oil
How Much Primer Do I Need?
“Knowing the types of primer is great and all,” you say, “but do I need 2 coats? Or will one suffice?”
Knowing when to use one or two coats can be confusing for those new to the task, but fear not. There are a few simple rules of thumb that can make planning ahead easier. See the cheat sheet below or keep reading for additional info.
See Also: Sandpaper Grit Chart
Coats of Primer Chart
| Surface Type | Coats | Notes |
|---|---|---|
| Bare Wood | 2 | If using a water-based primer, lightly sand between coats. |
| Drywall | 1-2 | You may be able to get away with one coat of a quality primer. |
| Plaster | 1-2 | Use an oil-based stain-blocking primer to prevent lime stains. |
| Paint (light) | 1 | If using self-priming paint, it's ok to skip the primer. |
| Paint (dark) | 1-2 | Use tinted primer for best results. |
On Bare Wood
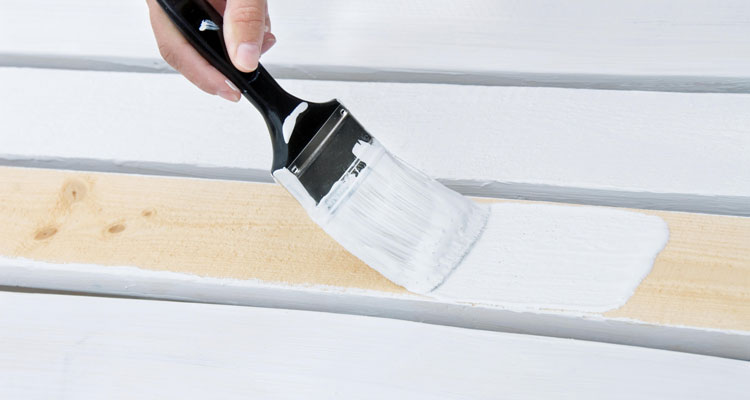
Bare wood, as mentioned before, is among the most porous of wall materials. A traditional 24-hour oil-based primer will take one to two coats.
The newer oil and latex primers will also take two coats for an effective seal. When using a water-based primer, the wood can swell slightly, so be sure to lightly sand the surface after your first coat has dried.
On Drywall or Plaster
Using a good drywall primer may only require one coat, but two coats may sometimes be necessary. Once the first coat has dried, take a good look at the surface to look for any flaws or thin spots. A second coat covers up these flaws, as well as replenishing any primer from the first coat that was absorbed into the drywall.
Using a multi-purpose primer or self priming paint will require two coats for that desired finish.
See Also: 8 Garage Ceiling Ideas for that Finished Look
On Painted Wall Surfaces
Painting over an existing white paint or lightly-colored varnish job usually requires only one layer of primer to prevent peeling of the old layers.
The exceptions to this rule are when you’re painting over dark colors with light, over light with dark, or covering up stains. For these, you will need to apply two thin coats of a white, tinted, or “high-hide” primer to bring the wall color closer to the final color.
Otherwise, you could be applying three or four layers of that expensive satin finish you found at Home Depot without completely covering the old wall color. Going to lighter paint color is a quick way to brighten up a room. It’s a good cheap idea to improve any basement.